
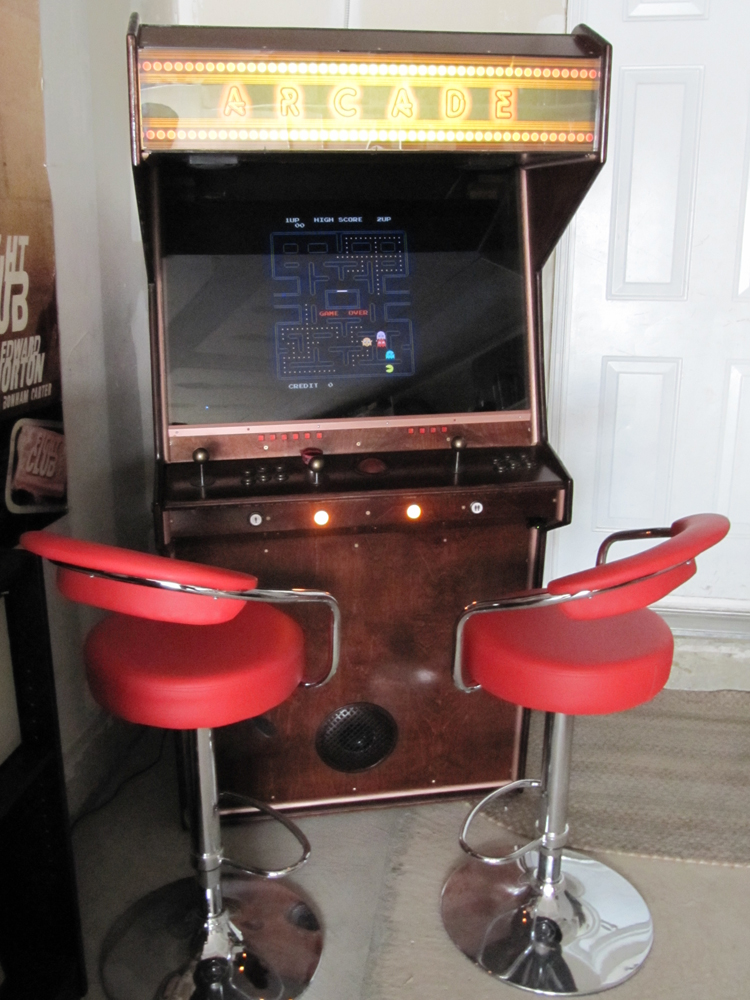
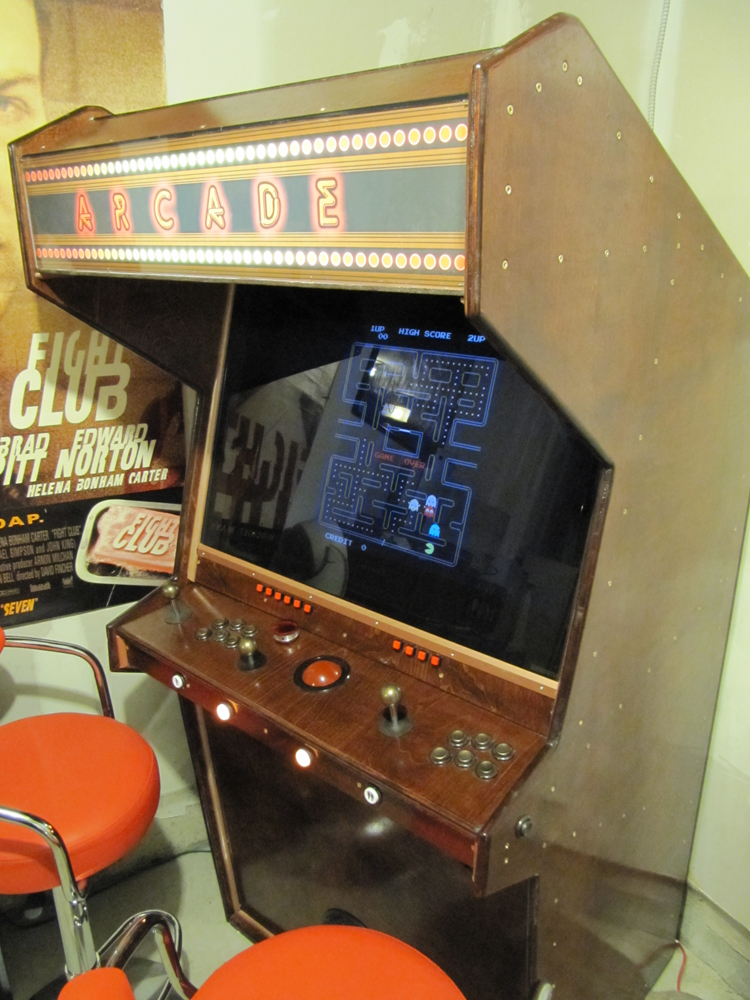
M.A.M.E. stands for Multiple Aracde Machine Emulator. The program runs on a PC and plays classic arcade video games. The graphics, sound and gameplay are identical to the originals. Recently, I decided to build an Arcade cabinet with a cheap dedicated PC to run MAME on.
Thanks to PW24x7 for his help getting and cutting wood and for letting me borrow his table saw when he went back to Afghanistan.
Here's the quick run-down of how I built my cabinet
- I installed MAME on my own PC.
- I downloaded a few roms and tried them out using my keyboard.
- I bought some joysticks, buttons and ipacs. I mounted them to a simple piece of wood to get the hang of making the connections and figuring out how (and where) to mount the hardware.
- Now it was time to figure out what PC to use, what monitor I wanted and decide on the size/shape of cabinet I wanted to make.
here's the breakdown of what I used:
TV
Dynex 32" LCD HDTV (DX-32L150A11) - ($350) it supports a VGA input with 1280x768 resolution. There's no overscan issues (you can see the full screen) and it looks very good.
PC
Foxconn R10-G3 PC case ($85)
2GB of G.SKILL DDR2 ram ($50)
80GB Western Digital WD800AAJS hard drive ($50)
3.0GHz Intel Core 2 Duo E8400 CPU ($180)
Creative Inspire T3130 2.1 Speakers ($55)
SVGA Video Cable 15 ft. ($8)
* you don't need them when it's all done, but I got a USB keyboard and mouse for $13 and $5 respectively.
HARDWARE
For the ipac and button hardware I used ultimarc.com:
Mini-PAC Opti. With Harness and USB cable ($69)
* getting the harness was a great idea. it works with the spinner and track ball. my cabinet is pretty wide (34") so I ended up getting two Mini-PAC to reach both sides. I could have just extended the wires from the harness, but it was easier for me to buy two than to splice in a bunch of extra wires.
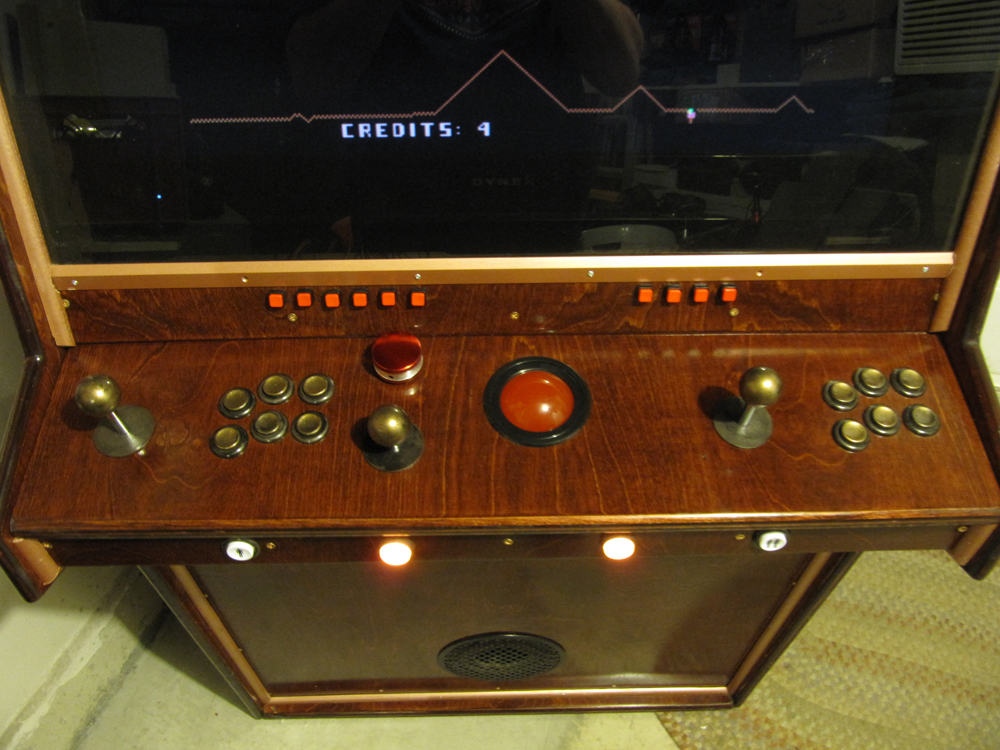
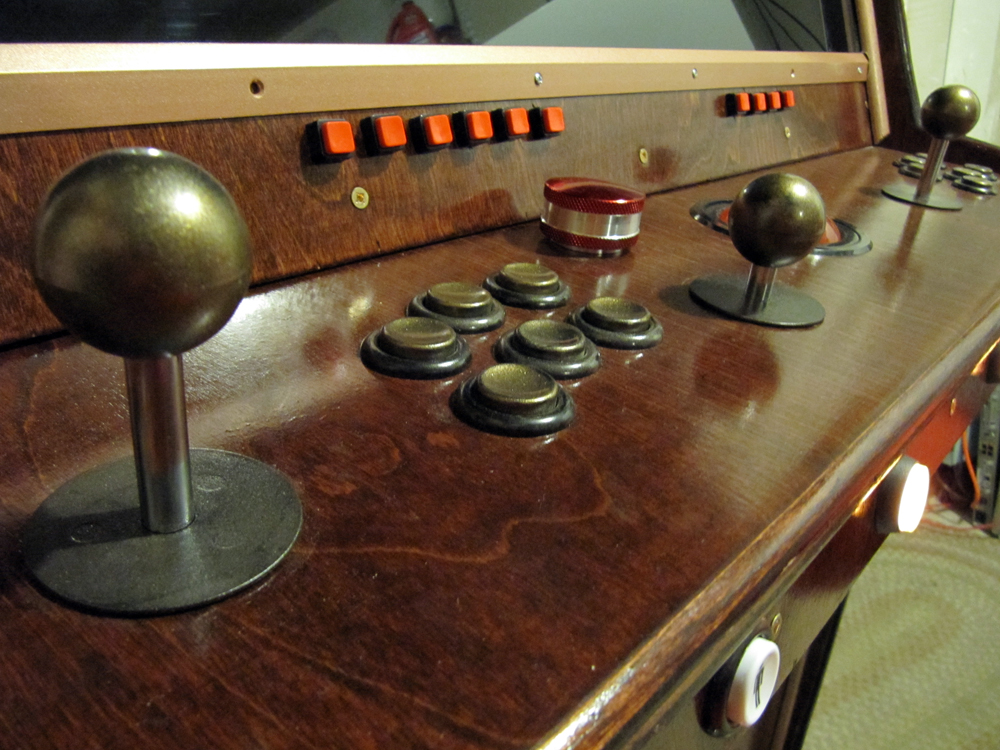
3 J-Stik Ball-Top joysticks ($21.00 each)
3 Optional 10mm longer handle ($12.00 each)
3 Joystick "Blind Hole" Mounting kits ($7 each)
1 SpinTrak Rotary Control ($62) with Red/Silver Large Knob ($12) and large Flyweight ($10)
1 U-Trak FireBall Red trackball ($79)
2 START BUTTONS ($2.90 each)
20 MISC BUTTONS ($1.95 each)
from happcontrols.com I got some small push buttons and the main power switch:
10 Miniature Momentary Contact Pushbuttons TYPE B, Red ($0.91 each)
SWITCH,TOGGLE,DPST 20AMP @125 ($5.60)
from tendercraftboats.com I got 200 Silicone Bronze Wood Screws 1 1/2 " ($80)
from plasticworld.ca I got my plexiglass:
1 sheet of 1/4" grey tinted plexiglass : 32.5" x 23.5"
2 sheets of 1/8" clear plexiglass : 32.5" x 6.5"
$50.00 for tint $15.00 for clear $35.00 shipping.
total charged : $113.00
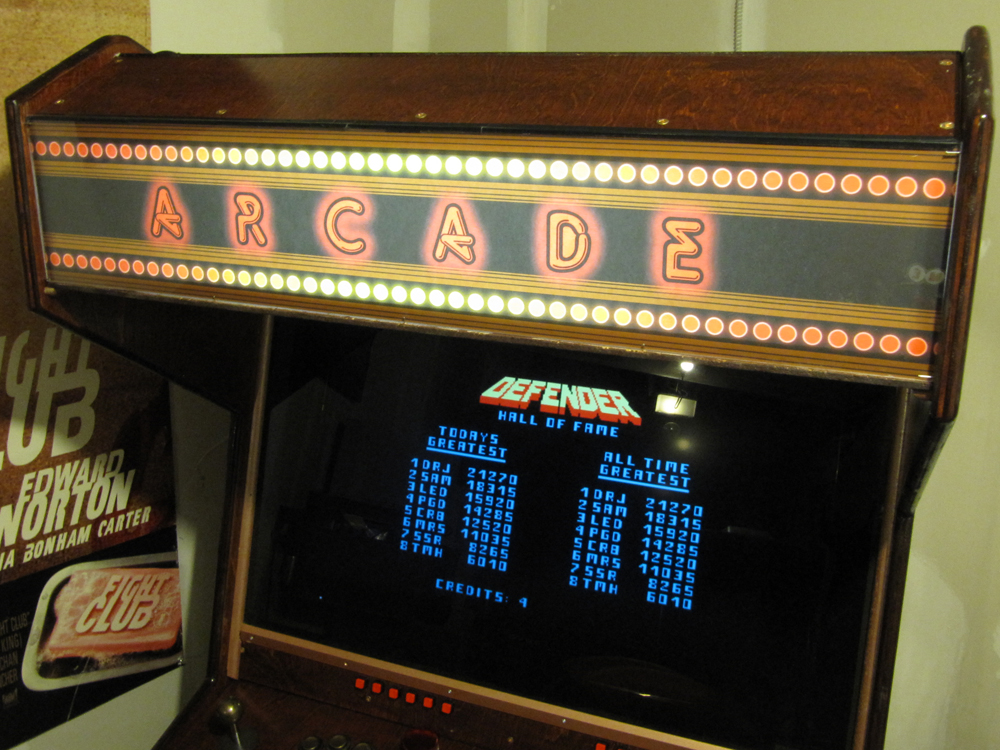
I got a 2-foot long aquarium fluorescent light for behind the marquee for around $50
and around $300-$350 for wood, stain and varnish and some other screws for the interior and feet for the cabinet, etc.
- I decided base my design on the general shape of the classic DigDug cabinet.
 It was going to be wide enough to fit the 32" TV and I planned to stain and varnish the wood rather than paint it or use decals. I made a point of getting hardware that I could mount from underneath rather than have bolts sticking up from the joystick mounts. I chose the bronze screws because I liked the colour more than the typical yellow brass fittings you find at the hardware store.
- I used photoshop to draw up my plans. I haven't used CAD software since grade 9 and it was just easier to set the photoshop rulers to millimeters and start with the size of the plywood. The numbers on my plans are the X & Y coordinates from the bottom left hand corner of the plywood in millimeters.
The photoshop plans have a whole bunch of layers but these were the pages I printed out when it came time to do the construction:
Side panel outer dimensions and screws.
Side panel interior braces.
Front panels.
Back panels.
1x2 braces.
Controls (This is a first draft. I tweaked the button placement in the end)
- Here is a gallery of photos taken during construction : Gallery
Links of interest:
- The MAME developers : http://mamedev.org/
- The article that got me started : http://www.gamespy.com/articles/110/1103044p1.html
- Eaxamples of what NOT to do : http://www.wickedretarded.com/~crapmame/
- The basics of how to build a cabinet : http://chris.polymathic.net/cabinet/index.shtml
- A really nice steampunk cabinet. I learned how to paint my buttons from this : http://forum.arcadecontrols.com/index.php?topic=88515.msg972657#msg972657
- A great site with info on mame roms : http://maws.mameworld.info/maws/
- Another good games database : http://www.gamesdbase.com/
- The TV I chose (works great with PC input) : Dynex DX-32L150A11
- The PC I chose (I added "3.0GHz Intel Core 2 Duo E8400", "2GB G.SKILL DDR2 SDRAM", "80GB Western Digital WD800AAJS" : Foxconn R10-G3
- Joysticks, trackball, spinner, arcade buttons and 2 Mini-PAC controllers : http://www.ultimarc.com/minipac.html
- Plexiglass : http://plasticworld.ca/
- A good place to find roms : http://www.retroroms.net/modules/news/
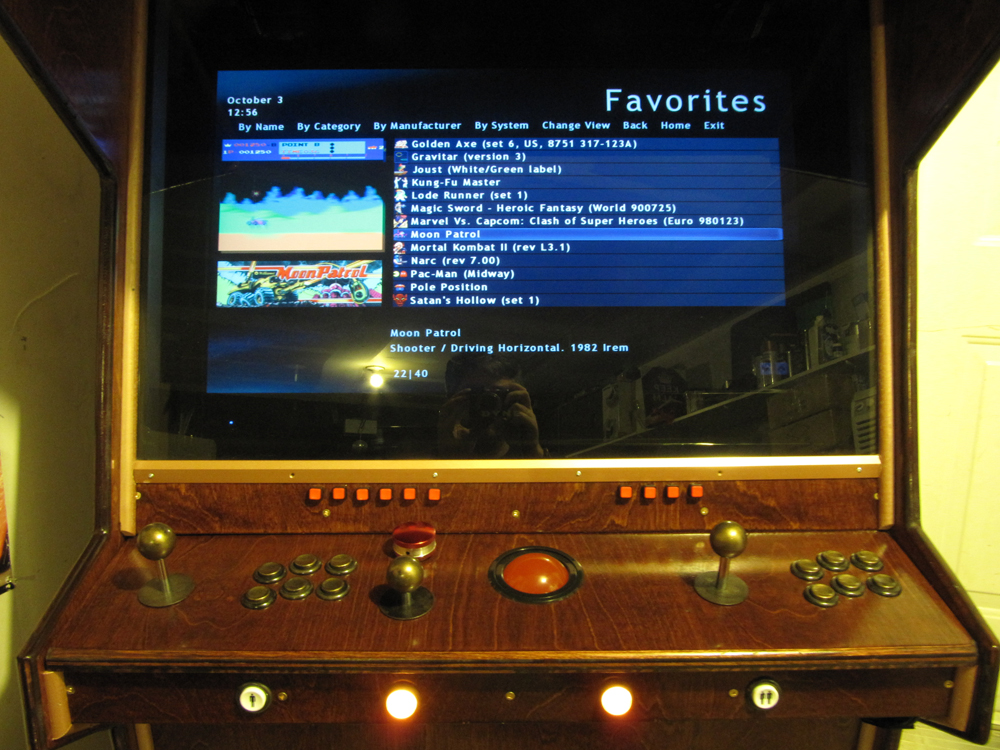
- The front-end I chose to navigate all my games : http://www.gameex.com/
- A great source for mame artwork, icons, snapshots and preview movies : http://emumovies.com/